
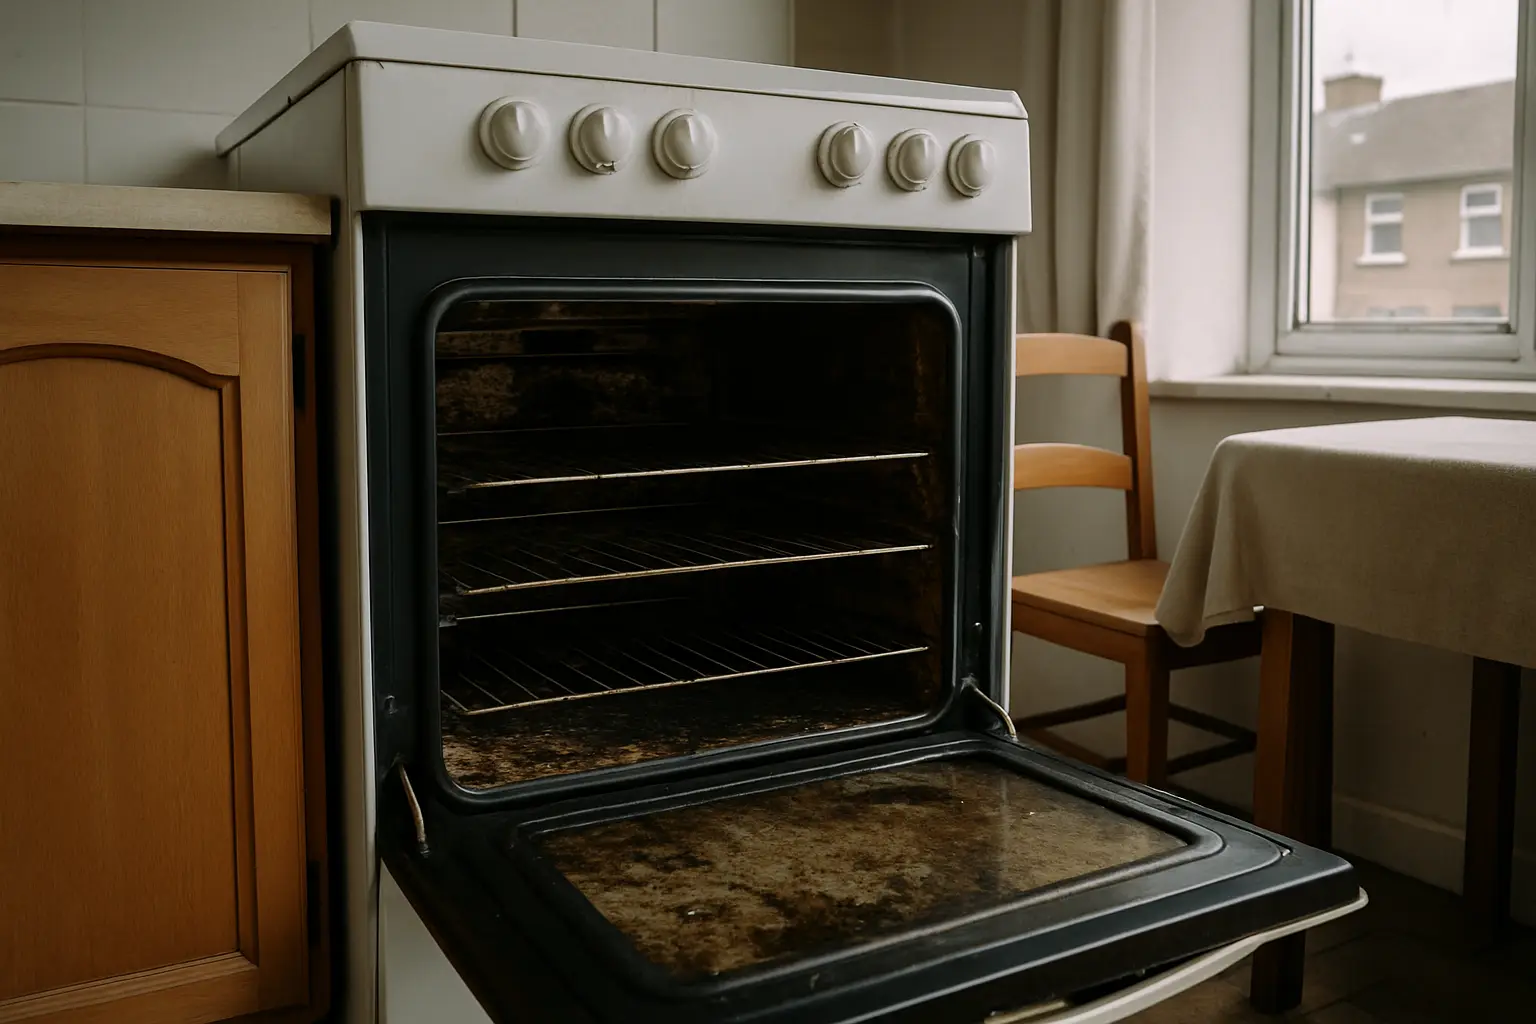
End of tenancy oven cleaning means stripping out the built-up grease, burnt food and grime from the racks, door glass and interior cavity until the oven works and looks the way it did when the tenancy started, not brand new. Start with the racks, the inside of the glass door and the floor of the cavity, since those are the spots a landlord or agent tends to check first at handover. A fair clean removes everyday cooking buildup; it is not expected to erase old scratches, chipped enamel or a warped element that was already there before you moved in.
How end of tenancy oven cleaning differs from a quick wipe
A weekly wipe-down deals with fresh spills. End of tenancy oven cleaning is closer to a full strip-back: racks and trays come out and get soaked separately, the door gets cleaned inside and out, and every corner of the cavity, including the runners the racks sit on, gets checked rather than skimmed. It takes longer than people expect, often an hour or more for an oven that has not had a proper clean in months, so leave time for it rather than squeezing it into the last hour before keys go back.
What you need before you start
- Rubber gloves and, ideally, safety glasses if you are using a strong degreaser.
- A non-abrasive sponge or cloth, plus a plastic scraper for stuck-on residue.
- An oven-safe degreaser or a baking soda and water paste for a gentler approach.
- Old towels or newspaper to protect the floor while racks soak in the sink or bath.
- A torch to check the back corners and under the door seal, where grease collects unseen.
Cleaning the oven, step by step
- Open a window and switch on any extractor fan before you start, especially if you are using a chemical degreaser.
- Remove the racks, trays and any oven light cover, and leave the racks to soak in warm water with washing-up liquid or a dedicated soak solution.
- Clear loose crumbs and debris from the cavity with a dry cloth or the plastic scraper before applying any product.
- Apply your chosen cleaner to the interior walls, floor and roof of the cavity, following the dwell time on the label rather than guessing.
- Wipe the cavity clean with a damp cloth, working into the corners and along the door seal with an old toothbrush if needed.
- Clean the inside of the door glass with a non-abrasive sponge; if grime sits between two panes of glass, check the manufacturer’s instructions before attempting to open it yourself.
- Scrub the soaked racks, rinse, dry thoroughly and slide them back into place.
Racks, glass and removable parts, without wrecking them
Steel wool and metal scouring pads are the main cause of avoidable damage during an oven clean: they scratch enamel and dull glass, and neither comes back once it is marked. Use a soft sponge or a plastic scraper instead, and let a degreaser or a baking soda paste do the work of loosening dried-on grease rather than trying to force it off with abrasion. Consumer Reports notes that on ovens with a self-cleaning cycle, using a commercial chemical oven cleaner on top of the self-cleaning liner can etch and discolour it, which then stops the self-clean function working properly, so check whether the oven has that feature before reaching for a strong product.
Chemical safety in someone else’s kitchen
You may be working with whatever oven cleaner was left in the cupboard rather than your own product, sometimes in a kitchen with the extractor fan already switched off for the move. The Health and Safety Authority’s guidance on chemical safety applies just as much at home as at work: read the label before you start, never mix products such as bleach with ammonia or an acidic cleaner since the combination can release harmful fumes, and keep the room ventilated while you work. Oven cleaners in particular often contain caustic soda or ammonia, both of which can irritate the eyes and airway if you are working in a closed room, so gloves and an open window are worth the extra minute.
What a landlord or agent actually checks
The Residential Tenancies Board draws a clear line between normal wear and tear, the everyday deterioration that comes from living in and using a property, and dirt or damage a tenant is responsible for clearing up before handover. Citizens Information sets out the same principle from the tenant’s side: you are expected to return the property in the condition you received it, allowing for fair wear and tear, and there is no legal requirement to hire a professional cleaner unless your lease specifically says so. In practice that means a landlord can reasonably expect the oven free of built-up grease and burnt-on food, but cannot fairly deduct for scratches or wear that were already there when you moved in, provided your move-in inventory or photos back that up.
If you are working through the rest of the property as well, our end of tenancy cleaning checklist covers what else tends to get checked room by room, and how cleaning affects getting your deposit back explains how disputes over cleanliness actually get resolved. If the property needs more than an oven and a general tidy, our guide on preparing your home for a deep clean covers the wider job before a big handover.