
Short answer: what an end of tenancy cleaning checklist Ireland needs
End of tenancy cleaning checklist Ireland: leave the property as clean and undamaged as it was at the start of the tenancy, allowing for fair wear and tear. Focus on kitchens, bathrooms, floors, windows, and any appliances you are responsible for. Clear personal belongings, repair anything you caused, and document the property with dated photos to reduce the risk of deposit disputes.
This guide gives a practical, room-by-room checklist, realistic timing and cleaning tips, plus how to brief a cleaner if you decide to hire help. It does not guarantee deposit return — that depends on your lease and the landlord’s inventory — but following a thorough checklist minimises common problems landlords raise.
Why thorough cleaning matters (and what landlords commonly expect)
Many tenancy deposit disputes in Ireland are about condition and cleanliness at move-out. Landlords can retain part or all of a security deposit for damage or cleaning beyond fair wear and tear, so leaving the property in a comparable condition is important. Expect landlords or agents to check the inventory and to focus on kitchens, bathrooms, carpets, ovens and any stained or damaged surfaces.
Take a copy of the original inventory or check-in report, if you have one, and use it as a reference. If you disagree with deductions when you move out, the Residential Tenancies Board (RTB) provides information on dispute resolution and how deposits are handled. Citizens Information also explains tenants’ obligations and what counts as normal wear and tear.
Practical end of tenancy cleaning checklist (numbered, room-by-room)
Use this checklist to work methodically through the property. Do one room at a time and tick each item. If you hire a cleaner, include this list in your brief so they know exactly what you expect.
- 1. General: remove all personal items and rubbish; vacuum and mop all floors; dust skirting boards, light fittings, blinds and window sills; wipe down walls where marks are removable; replace any burned-out bulbs and clean switches and door handles.
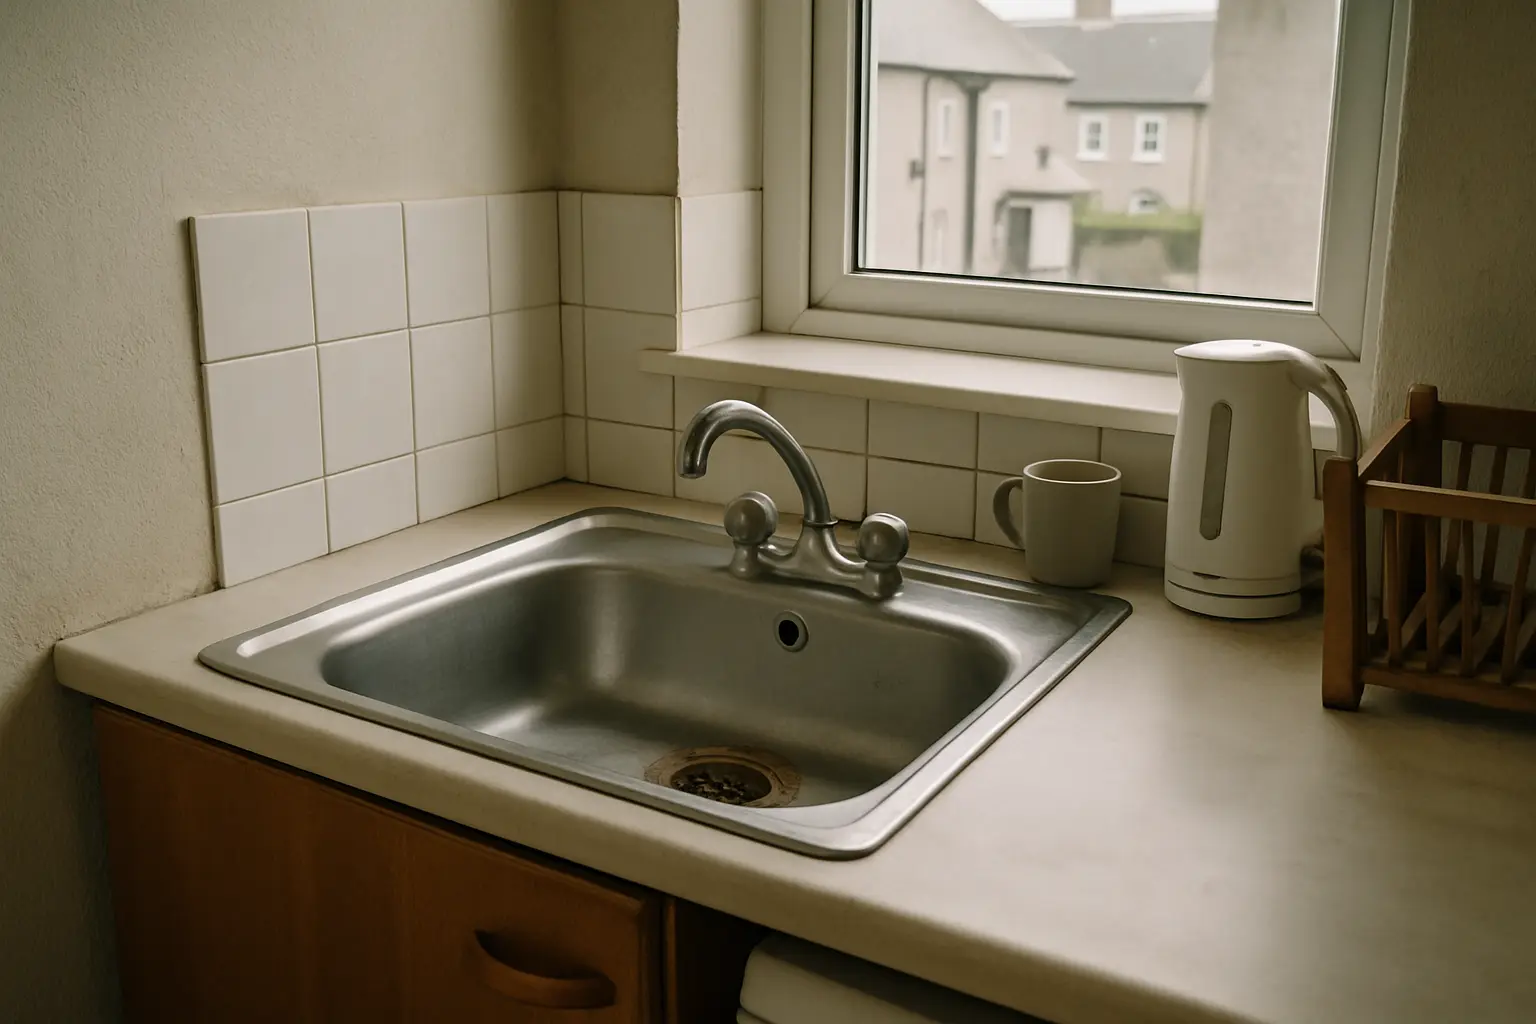
- 2. Kitchen: empty and clean all cupboards and drawers inside and out; degrease splashbacks and extractor fan covers; clean exterior and interior of fridge, freezer and dishwasher (defrost if needed); clean hob, oven (including racks and trays) and sealed ceramic surfaces; wipe down worktops and sink, removing limescale and food residue; clean taps and polish fixtures.
- 3. Bathroom: descale shower heads and taps; clean grout and tiles; remove limescale and soap scum from screens, shower trays and baths; disinfect toilet bowls and wipe external surfaces; clean mirrors and bathroom cabinets inside and out.
- 4. Living rooms and bedrooms: vacuum carpets and rugs (consider a deep clean for heavy stains); clean under furniture where possible; wipe down wardrobes and shelving; clean windows, frames and sills; remove any adhesive residue from walls and doors.
- 5. Windows and doors: clean both sides of accessible windows and frames; remove cobwebs from corners and clean door edges and hinges; ensure letterbox and entry area are tidy.
- 6. Appliances and fixtures: ensure any appliances provided are left clean and operational; empty and clean tumble dryers’ filters and washing machine detergent drawers; wipe down radiators and clean any supplied furniture.
- 7. Outdoor areas and bins: sweep balconies, patios or garden areas you are responsible for; remove all personal items and cigarette butts; leave bins empty and clean if requested by landlord or agent.
- 8. Final checks: do a walk-through using the original inventory; take time-stamped photos of every room from multiple angles, plus close-ups of any repaired or previously-damaged areas; leave a note with your forwarding address if required.
Practical tips, supplies and safety
Work from top to bottom and left to right in each room so dust and dirt fall onto areas you will still clean. Useful supplies: microfibre cloths, an all-purpose cleaner, a degreaser for kitchen grease, descaler for limescale, a heavy-duty oven cleaner for baked-on grease (use with care and ventilation), a mop, vacuum with attachments, rubber gloves and a scraper for adhesive residue. For carpet stains, follow the manufacturer’s stain removal guidance where possible.
Take care with harsh chemicals — ventilate the room and follow label instructions. For mould or persistent damp marks, a diluted bleach solution can be effective for non-porous surfaces, but avoid mixing cleaning products. If mould or major damp is present, report it to the landlord or managing agent; some issues may be their responsibility to repair. For general guidance on cleaning safely and handling strong disinfectants see public health advice.
When to hire a cleaner and how to brief them
If time is tight, or the property needs deep cleaning (oven, carpets, tiles), hiring a professional can be efficient. Whether you use an independent cleaner or a company, give a clear brief: include the address, move-out date and time, access instructions, the room-by-room checklist above, any inventory notes and photos of areas you particularly want addressed. Ask the cleaner to confirm which tasks are included and whether they provide oven or carpet deep-cleaning as extras.
If you decide to hire through an online request platform, be specific about expectations and timing in your posting. Post a request and hear from independent cleaners interested in the job. (https://connectcleaner.net/services/end-of-tenancy-clean?utm_source=guide&utm_medium=organic&utm_campaign=end_of_tenancy)
Timing, evidence and the final handover
Plan to finish cleaning on the morning of or the day before your final inspection to avoid last-minute dust and traffic marks. Leave time to recheck all rooms, clear drains and run a quick vacuum. Do a final walkthrough with the inventory and make a short checklist of anything you repaired or replaced.
Always take dated, well-lit photos of each room and any specific areas of previous damage or recent repair. If possible, ask the landlord or agent to confirm receipt of keys in writing at handover. If a dispute over the deposit arises later, the Residential Tenancies Board and Citizens Information outline how to proceed and what evidence can help support your case.